Gunite Pool Installation Services Overview
Visitors will learn how local contractors can help with Gunite pool installation and compare options to find the right service providers.
- - Residential property owners seeking custom Gunite pool installations for backyard retreats.
- - Commercial property managers looking to add durable, large-scale pools for public or recreational use.
- - Homeowners interested in upgrading or renovating existing pools with professional Gunite construction services.
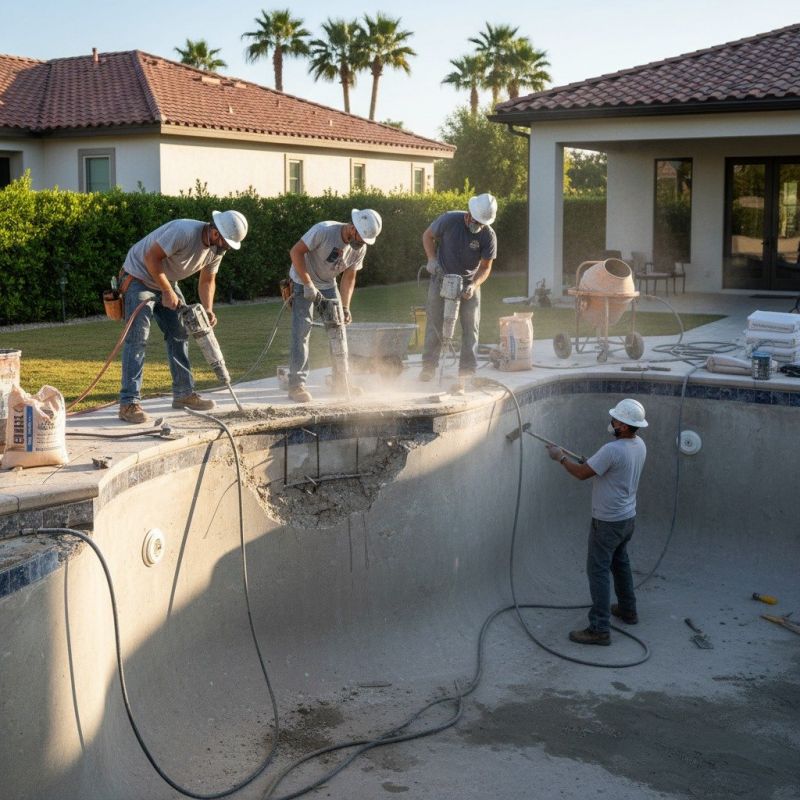
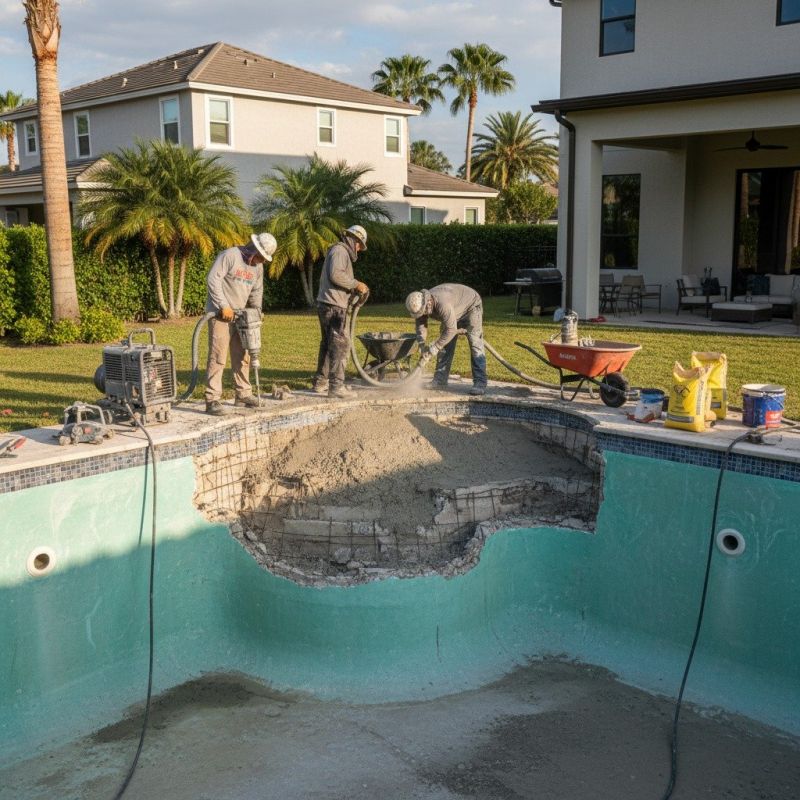
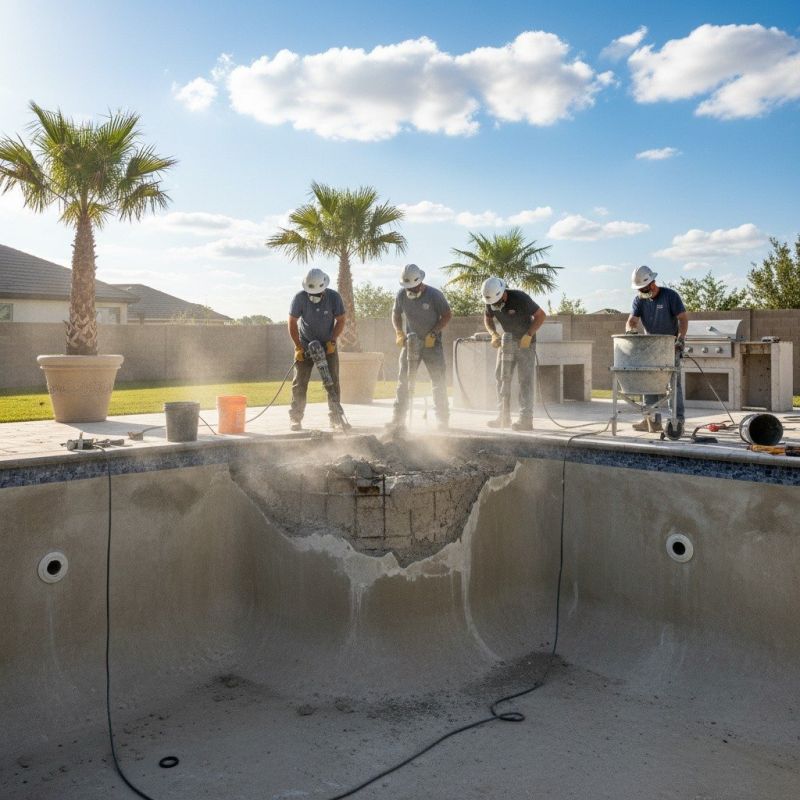
Gunite pool installation is a popular choice for property owners seeking durable and customizable in-ground pools. This process typically involves excavation, shaping the pool’s design, and applying a spray concrete mixture known as gunite to create a sturdy shell. Local contractors specializing in gunite pool installation handle these tasks, working with property owners to bring their backyard visions to life. Whether constructing a new pool or replacing an existing one, these professionals can assist with site preparation, form building, and the application of the gunite material to ensure a long-lasting, high-quality result.
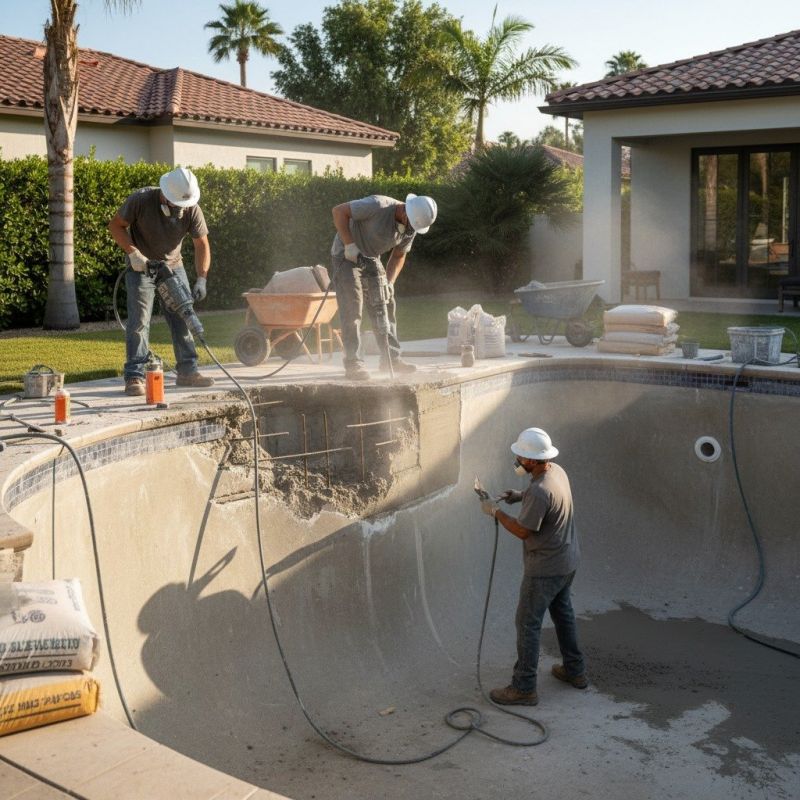
Property owners often seek out local service providers for gunite pool installation when planning to add a new feature to their outdoor space or upgrade an outdated pool. These specialists are experienced in managing the technical aspects of the installation, including ensuring proper structural integrity and surface finish. By connecting with nearby contractors, individuals can compare options and find the right fit for their project needs. The work typically involves careful planning, precise execution, and attention to detail to deliver a finished pool that complements the property’s landscape and meets personal preferences.
This guide provides helpful information to understand the key aspects of Gunite pool installation projects. It assists in comparing local contractors and understanding what to consider before starting a pool build. The goal is to help visitors gather the basics needed to connect with qualified service providers in their area.